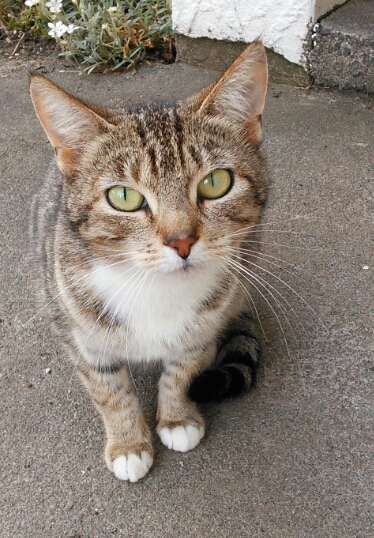
You may recall me mentioning that the stray cat has returned to the compost heap to produce yet more kittens. This afternoon I tried to see where they were hiding. We’ll need to get them off to the SPCA reasonably soon to be in with a chance of getting them off to some good homes. Folks seem to be more attracted to cute kittens than stropy cats for some reason. It was difficult to decide where they are hiding … and I suspect they’ll find places in which they can escape or hide when I try to catch them. There’s so many little places into which they can run from which I’ll find it close on impossible to extract them.
Whilst looking for their ‘home’ I spotted one of the kittens amongst some undergrowth near the compost bins. Looks like I was the only one doing some spotting!
Lurking in the undergrowth by the compost heapI think I’ve been spotted!
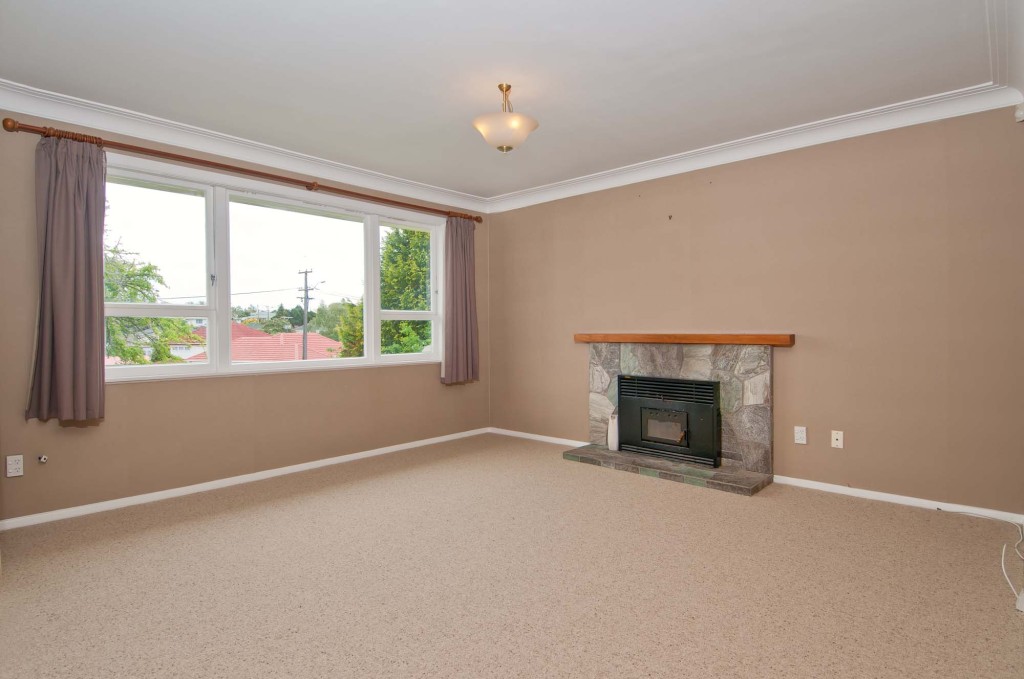
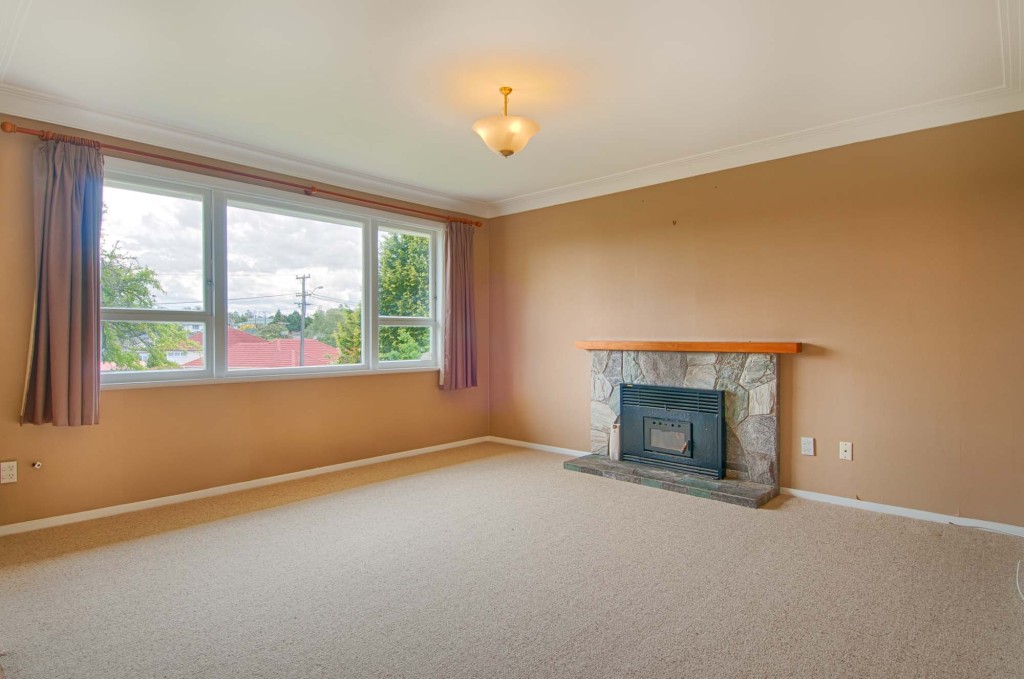
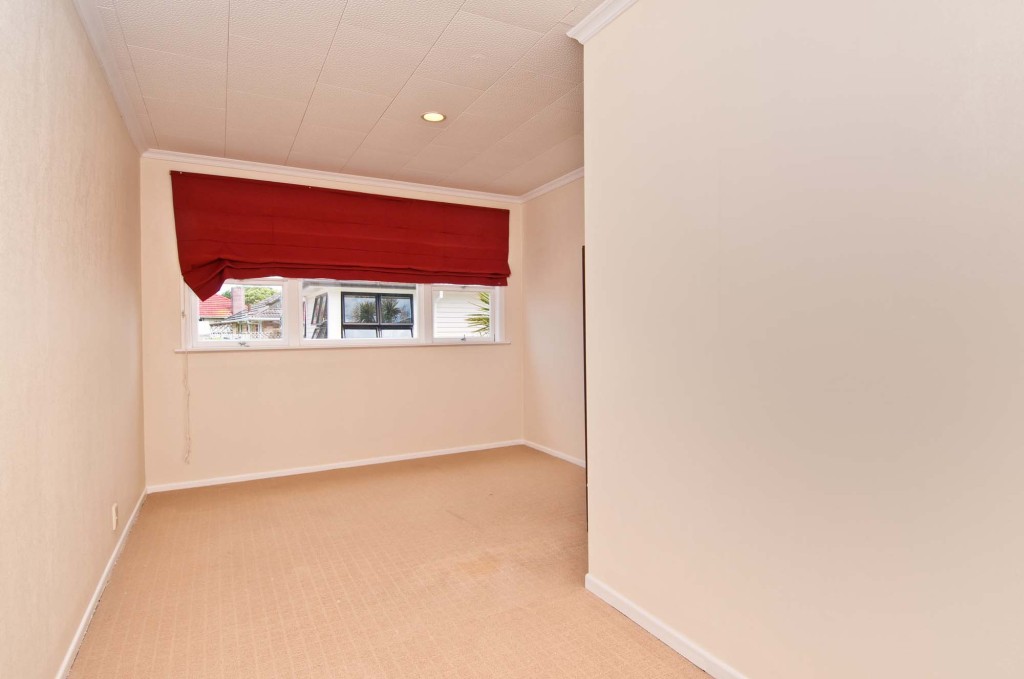
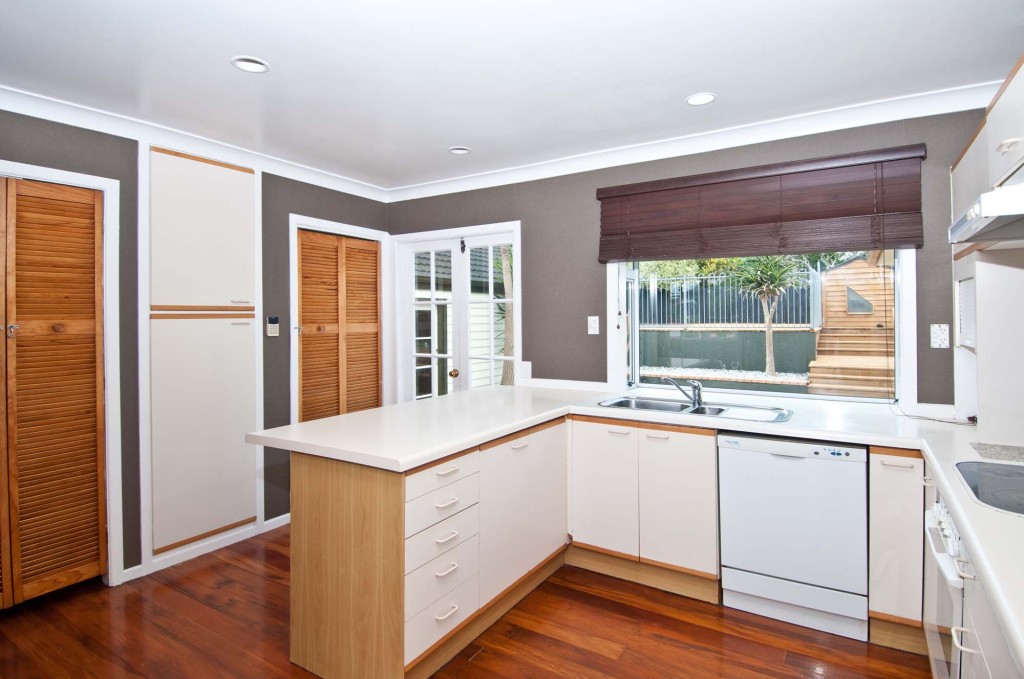
A question I often ask myself when taking photographs of a property is whether to use lights, or HDR. The effects can, in some circumstances, be quite similar. However, time to setup and time to process are quite different between the two techniques. Also, it’s probably fair to say a reasonable level of skill is required to manipulate the lights to ensure shadows and reflections are reduced or removed. With HDR, the warmth of the incandescent bulbs are easier to accentuate … they can be lost altogether when using lights. However, problems with windows when using HDR can lead to light bleeding into the window frame as you’ll see in one of the shots below.
To give you some examples of the differences I took a series of shots to process with HDR, and then one with light … just for comparison. 9 shots at 1EV intervals were taken to create the HDR image that was then processed in HDR Efex Pro from Nik Software (or is is Google now?) The light shots were taken with about three strobes on stands reflecting off the corner of walls and ceiling. The intention is not the show how good or bad I am at taking photographs, but to illustrate the differences I notice as I process the images using lights or HDR.
All shots are taken in a vacant property that makes shadows from chairs, ornaments etc. a non-issue!
The first pair of images illustrates the front room. Quite a bright window area and the walls whilst looking warm when in the room, look cooler with lights. You’ll notice also the brightness of the window frame with lights as compared with the effect with HDR. You may also notice an uncorrected bleed of light on the left of the window frame as well as some extra glow and warmth from the ceiling light.
Front room with lightsFront room with HDR
Moving further back now to include the entrance way as well as the front room there’s a distinct difference in warmth between the two. Asking my wife which she prefers I got the answer, “somewhere between the two”.
Entrance and front room with lightsEntrance and front room with HDR
This bedroom was interesting due to the textures in the wall on image left. With HDR the textures are much more noticeable, and the HDR image seems more grey than the one with flash. Just two flash guns used in this shot. One placed around the corner opposite the window, and one to camera left to illuminate the foreground.
Bedroom with lightsBedroom with HDR
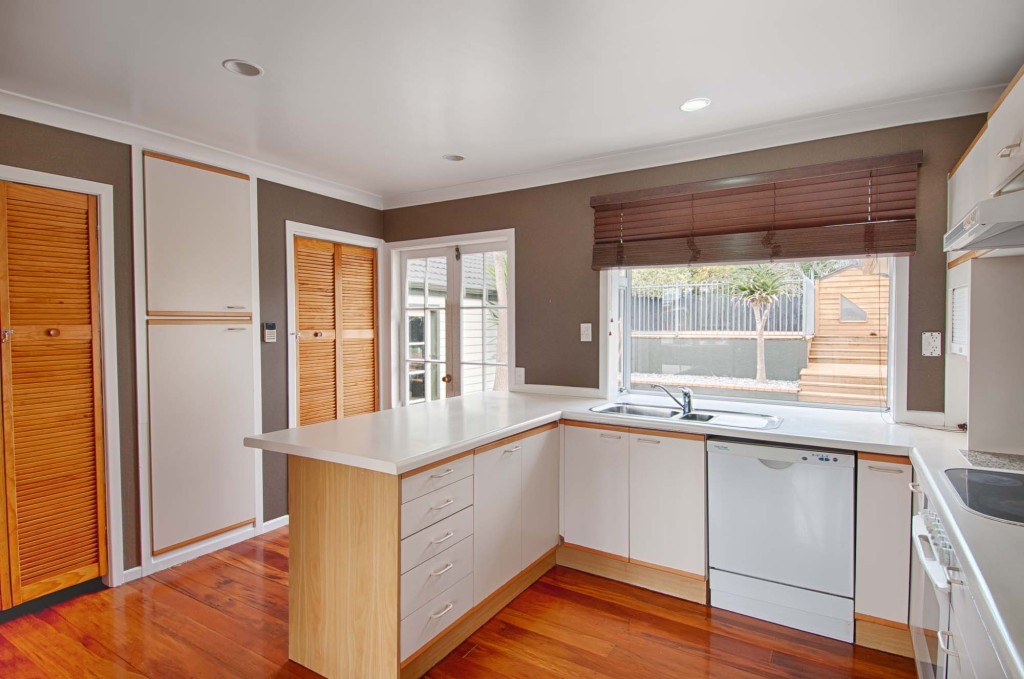
The last couple of shots are in the kitchen. Three lights used for this shot with care taken to avoid reflections in the windows and shadows on the floor. The room looks bright, but perhaps a little “stark”. The HDR blend is also bright, but warmer and softer.
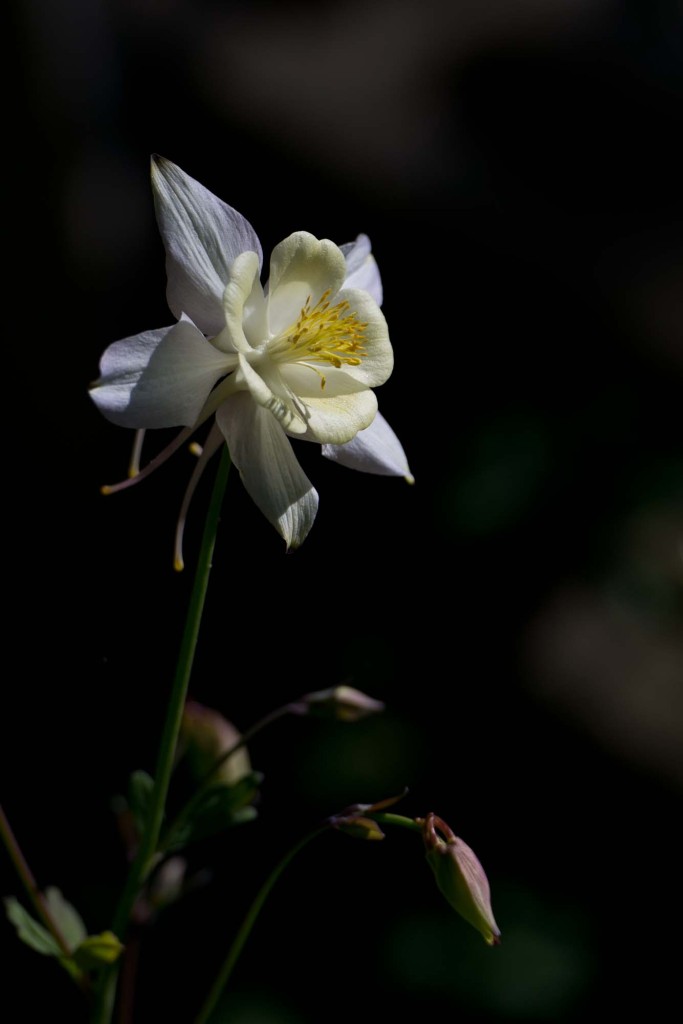
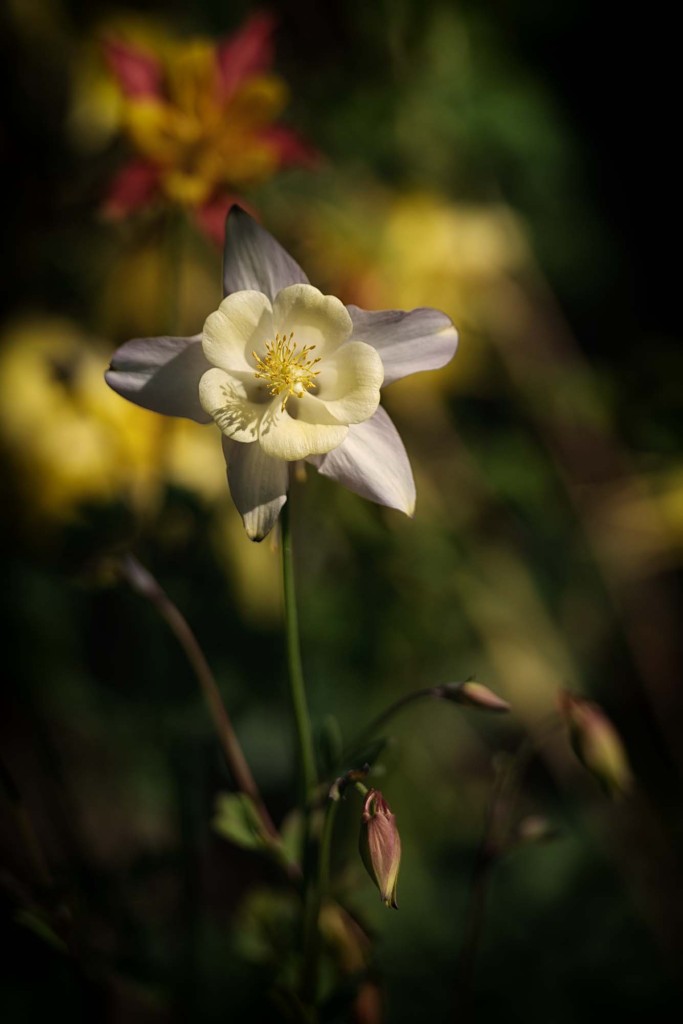
Quite a pleasant day here in Godzone today and I couldn’t resist taking a few more shots of the aquilegia in the backyard. You may recall a snap taken with my tablet yesterday … well, today I thought I’d try a camera and see if there was any difference 😉
The light was similar to yesterday, but perhaps a little more intense. Exposure was taken for the blooms themselves and by carefully positioning the camera I could find a shadowey background which, as you may notice in the images below, gives the impression that the blooms were shot against a black backdrop.
No tweaks or twiddles in Photoshop. These images are straight off the camera. I used a tripod to keep things steady and a 200mm telephoto lens. For the first two images the aperture was set to f4, but the last shot was taken at f2.8 (and has a few Color Efex filters applied).
Quite amazing really that these plants survived the droughts last year and such a lovely surprise to see them flowering.
The stray cat returns!
I must admit that when shooting a number of the houses in my local area I often find it challenging to see what the camera sees in small rooms. Often the camera is on a tripod in the corner of a room with no room for me to get behind and look through the viewfinder or see the display. The problem of composing the shot gets worse when you put the camera a few metres up a pole! One idea was to have an external monitor so I could see what was going on. Using a USB connection along with Helicon Remote allows me to view the scene and focus the camera whilst looking at my tablet. So much easier in those awkward places! I can’t zoom, but I can compose, focus and take a bracketed set of shots.
I didn’t want a BIG tablet. I have enough to carry about and as I’ve already mentioned I can end up in small places! I opted for the little Nexus 7 as it has quite a nice screen, is small and quite lightweight. As it happens I can use it for Skype and the rear facing camera isn’t too bad as you can see from the two shots in this post. It’s 5MP and I find the handling of the device for photographs more awkward than using my dSLRs. As such, the next set of photos posted here will almost certainly not be from the Nexus!
The first shot in the post is of the stray cat that has returned to the compost heap to deposit yet another litter of kittens. I wish we could catch this cat or compost heap kittens is going to be an annual event! The second image in the post is of some aquilegia I planted at the bottom of may garden last year. Backyard aqualegia
It must be a couple of years now since Frank passed away. Frank was a neighbour for many years and an enthusiastic gardener. He grew all manner of plants, but these orchids were some of his favourites. Quite tiny blooms, but when you see then in a group they’re rather lovely … as they are when you get up close. Frank gave us some of these orchids when he was still active and well, and they serve as a lovely reminder of an old friend.
The image you see above was taken with a 50mm lens and extension tubes to let me get just that little bit closer. Three flash guns (left rear, right rear and front right) were used to illuminate the scene. Shame Frank isn’t here to see his blooms still doing well.
A bit wet … thank goodness for weather sealing on the camera and lenses!! I thought I’d try to get close to this little flower … and then the weather changed! No longer dry and windless, but rain and the flower was moving all over the place. Just for fun I thought I’d try to freeze the action with some flash. A single speedlight placed camera left, really to keep it dry more than anything else! Not too bad. Not a lot of movement in the bloom.
Oh, the flower is white, and it’s foliage is grey/green. Not much contrast in the scene. A bit of a twiddle in Nik’s Silver Efex Pro helped change the contrasts and “sensitivity” to different colours.
The weather wasn’t the best, and there was quite a bit of contrast in the scene. HDR to the rescue again. I’ve been using Nik’s HDR Efex Pro for some time now and have been very impressed with the product. There is, however, one serious weakness when compared to Photomatix Pro and that’s its ability to handle ghosting. In the shot you see here above (nine frames used to make up the HDR image) there were several ghosts of the cars and pedestrians as they moved through the scene. Photomatix to the rescue!
Not been on here for some time. It all started going pear shaped about four weeks ago when I started to feel ill. A brief spell in hospital, and then quite some time recovering from surgery and feeling somewhat worse for wear has kept me away from the blog. Mind you, one week after being on the operating theatre I did manage to shoot the 2013 Schools Trash to Fashion finals. This was a real mission for me, and I must admit to being totally wasted after the show. I’d promised to shoot the event, so I really wanted to be there. The contestants put so much time and effort into their garments and I wanted to make sure we got some worthwhile images.
Supreme garment “Tori No Su (Birds Nest)” by Kayla Rousselle of Lynfield College
The contestants are all school children and their ages range from school years 1 through to 13. Their imagination and creativity is quite amazing and you get the feeling that you’re looking at some of the country’s future fashion designers.
Some of the “Shorn!” Category Contestants
Want to see more? Well, click here to go to the main page for the ST2F 2013 photographs. Just want to see the winners? Click here.
I was chatting to my son about light and some of the challenges you have when trying to take photos of glass. So, to illustrate the point, we grabbed a few glasses from upstairs – nothing fancy as there was a high chance things would get broken – and headed down into the basement! The glasses were placed on my light table which has a glossy white plastic surface. We tried a few different configurations, just to illustrate how we could change the appearance of the image by where we placed the light source.
Ambient light shot This is the first shot. Taken with available light from the window to camera left. You can see a range of reflections on the glasses – I really must tidy up in the basement! Anyway, besides seeing all the clutter in the reflections you’ll notice the glasses seem to blend into the background. Instead of looking at the shape of the glasses you’re probably looking to see just what the clutter is in my basement!
Single flash from below
Same setup as before, except this time I placed a speedlight under the light table. This gives quite a different effect. No longer are the reflections of the basement clutter so obvious and you get a much better idea of the shape of the glasses. One thing I’ve learnt is that when you play with glasses have a clean cloth handy so you can remove your greasy finger prints!
Light from behind with gels
Next we decided instead of having the background predominantly white with the form of the glasses being black to swap things round. Now we tried a black background and had the glasses being white – or another colour! This time a gobo was placed behind the glasses and two white reflectors placed on the left and right of the glasses. The white light table was replaced with foamcore with some glass under the glasses to give some reflections. We also placed some gels in front of the flash to get some different colours.
Light from behind with gels
We used the gel filters from the studio lights; yellow red and blue. The first shot used the yellow gel, but then using both yellow and blue gave us green as you see in this image.
Remember that I mentioned I had two white reflectors on each side of the glasses? Well, for the last shot we used two speedlights on low power fired through red and blue gels at these reflectors as well as a third speedlight behind the gobo as in the two previous shots.
Extra coloured speedlights left and right
So there you go, a bit of fun with a speedlight or two in the basement. Good fun and I think my son learnt a little as well as had some fun with the filters, reflectors and speedlights.
A few weeks ago at the Matariki celebrations in Henderson one of my cameras, my Nikon D800, started to misbehave. The autofocus mechanism did the exact opposite of what it was supposed to do and was doing an autoUNfocus. There was nothing I could do with the camera to resolve the problem. I tried cycling the power (removing and reinserting the batteries), doing a factory settings reset, changed lenses, changed focus modes (AF-C, AF-S), single point focus, or use all 51 point. Absolutely nothing worked. It was well and truly stuffed. Then I decided to try LiveView. this worked! I switched back to viewfinder and unbelievably autofocus was back on track again!
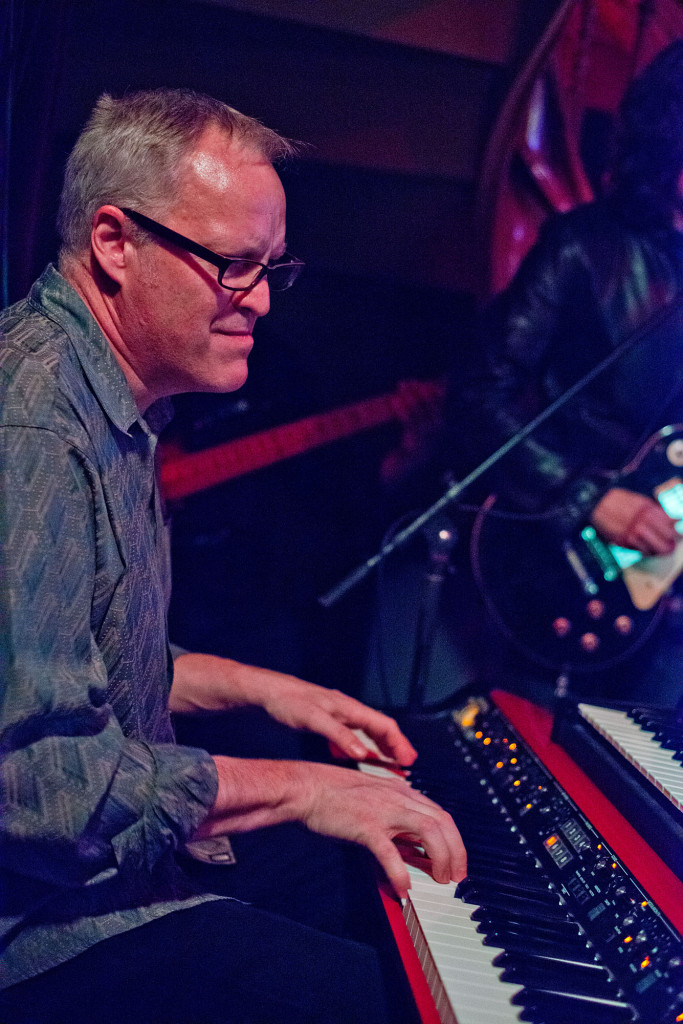
Alan Brown playing with the Alan Brown Project.
The camera misbehaved a couple more times that evening, and each time the LiveView trick brought viewfinder focus back to life again. I got the camera checked and no errors were reported. Happy that all was apparently good I continued using the camera with no issues until the Native Noise event at the Town Hall with Che Fu organised by Evitan. Same problems as before. Two green arrows indicating the camera couldn’t focus!
This time a more thorough investigation was conducted and the camera was in the shop for a few days. Again, no faults identified and the camera passed all tests. I must admit to feeling both dismayed that nothing had been identified as well as pleased that the camera had passed all tests. Time to test it again, this time on the Whangaporoa Peninsular when I went to shoot Take Note.
All was going well, really well and I thought the fault had been fixed … until about an hour into the shoot. Same again. Two green arrows and no focus. I felt sick. Was it me? I certainly wasn’t imagining what was happening and I couldn’t identify any action I was taking to cause the problem and switching to LiveView and back again did fix the problem.
I was losing all confidence in the camera and started using my D300 in preference to the D800 now. The D300 had been faultless since day one and I could trust this workhorse. I’d missed shots with the D800 and was seriously disappointed with it so back it went to the workshop.
It came back on Wednesday and as soon as I attached a lens and started to use it I could sense there was something different. It sounds silly, but it just seemed to have been “tuned” or “tweaked”. I now had the D800 I’d fallen in love with last year. I was delighted … but how would it be with the bands? No worries!! I took it out last night to see Cherie Mathieson singing with the Alan Brown Project. I was determined to put the camera into the same type of conditions that had caused it to fail previously. Was I disappointed? Not at all. The camera was a dream to use and behaved perfectly for the two hours I was shooting. Happy? I’m stoked!!
Here’s a few shots of Cherie from last night. ISO 5000, f2.8, 1/125sec, 85mm f1.4G, Nikon D800
So, how did the fault get fixed? Well, the folks at Nikon (Macalister‘s here in NZ) did a superb job. They replaced the viewfinder autofocus mechanism, recalibrated, tested and ensured the camera passed all tests before giving it back. End result? A seriously stoked Nikon user with one wicked D800 😉